
Customize your images with Styles in BlogStomp
BlogStomp is no longer our flagship blogging software, as we have replaced it with Storytailor.
We are still supporting the BlogStomp software and its users, but BlogStomp is no longer available for purchase. Learn more about Storytailor HERE.
So you want to customize your photos? No problem this is exactly what we’ve designed BlogStomp for, will one piece of it anyway 🙂
To create a custom design, select ‘Settings’ and then ‘Styles’. This is where the fun begins!
We have some default options there already. You can decide to use these as they are, alter them, or delete them and go from scratch. For this one today I’m just going to alter “White Border”. Otherwise to create one click ‘Add’ in the bottom left corner.

From the ‘Styles’ window you can change multiple aspects!!
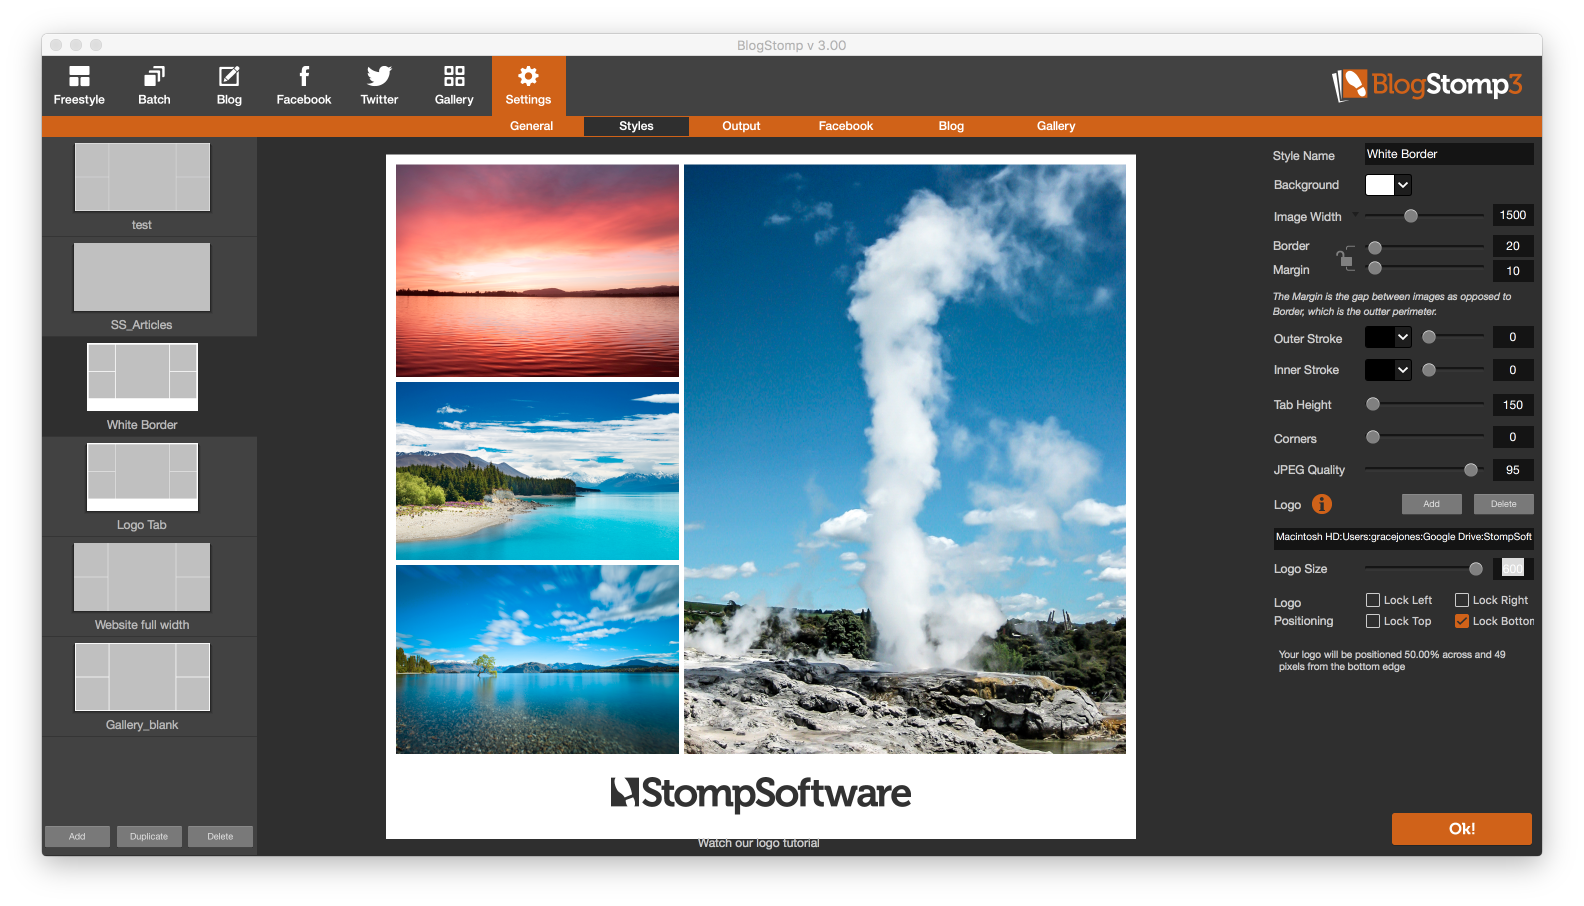
Background
Here you can select a plain color, choose a background texture from our preloaded ones or import one of your own… it’s all up to you y’all!
Image Width vs Longest Edge
Image Width stomps your images, no matter the layout, to the same pixels wide. Both vertical and horizontal stomps will have a the same pixel width.
Longest Edge stomps your images, no matter the layout, with the longest dimension to the specified pixels. Some galleries advise this to maximise potential viewing size.
Border and Margin
Here you can choose to have them the same width or click the padlock and have them seperate.
Outer Stroke
This adds a stroke around your whole stomped image.
Inner Stroke
This adds a stroke to the inside of your seperate images in the stomp.
Tab Height
This is by far one of the most popular features because you can make your stomps look like a polaroid photo!!! Cool right!
Corners
Here you can round your corners if you wish.
JPEG Quality
Your sweet spot is 95! You can check out our awesome infographic if you want to know why 😉
Logo
Here is where you add your gorgeous logos and complete your branding!!! Remember to size it to the correct size before importing and we love pngs! Step by Step instructions are here 🙂
Now all you have to do is choose “OK” and it will all be saved! Whoop Whoop!!
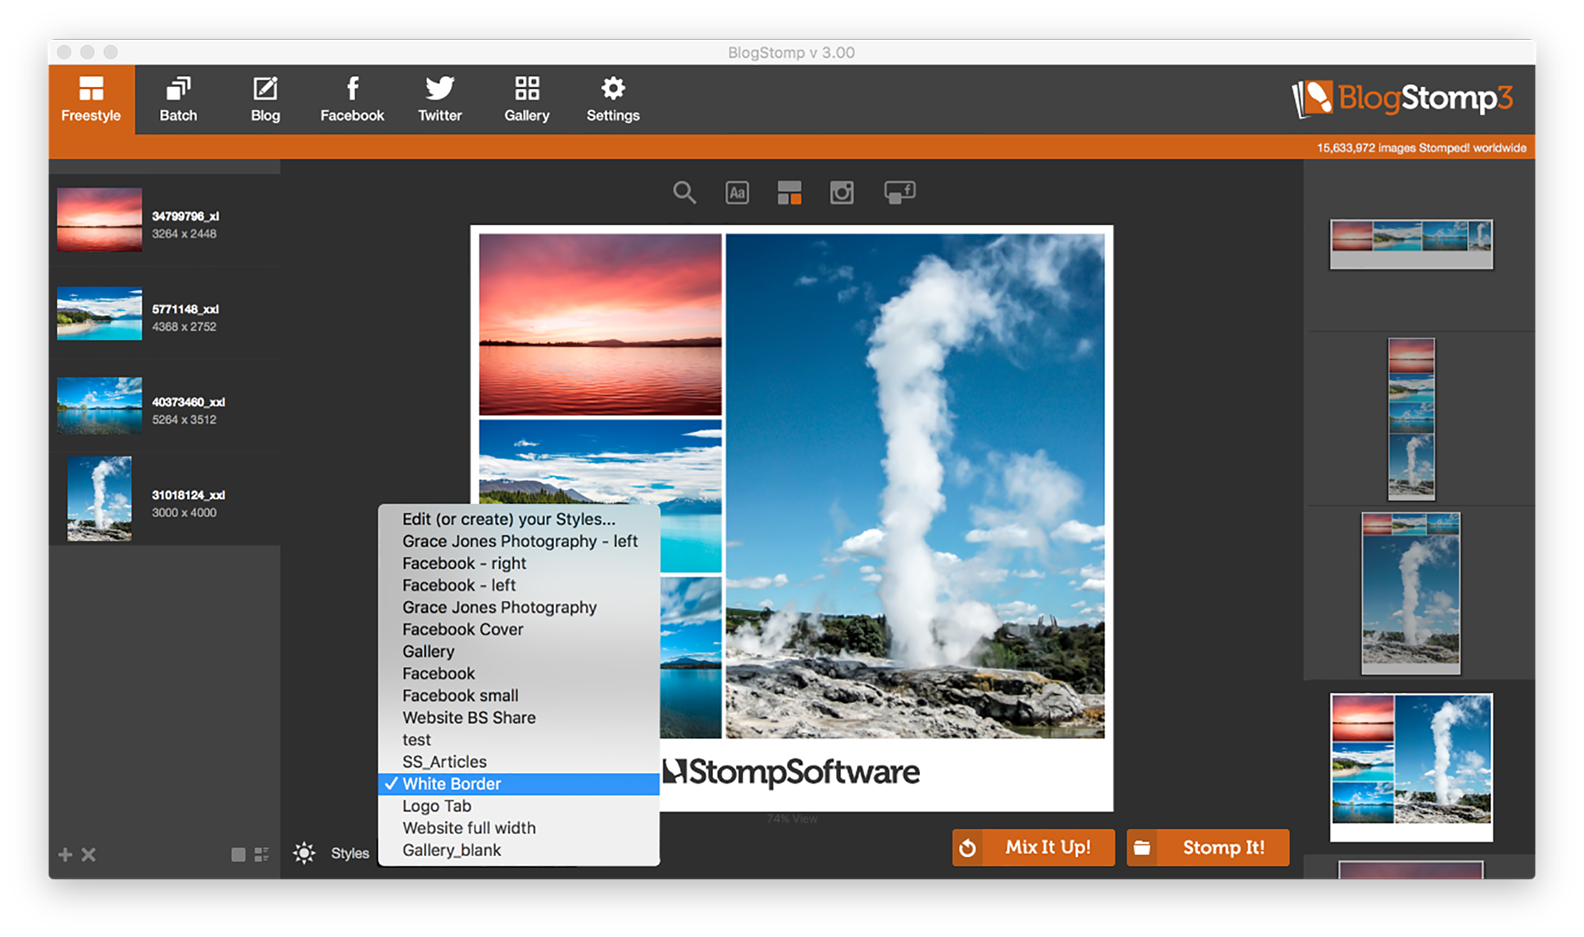
When you go back to your ‘Freestyle’ or ‘Batch’ window your custom design will be found in the ‘Styles’ drop down menu in the bottom left hand corner of the the image preview window. Make sure you select it 🙂
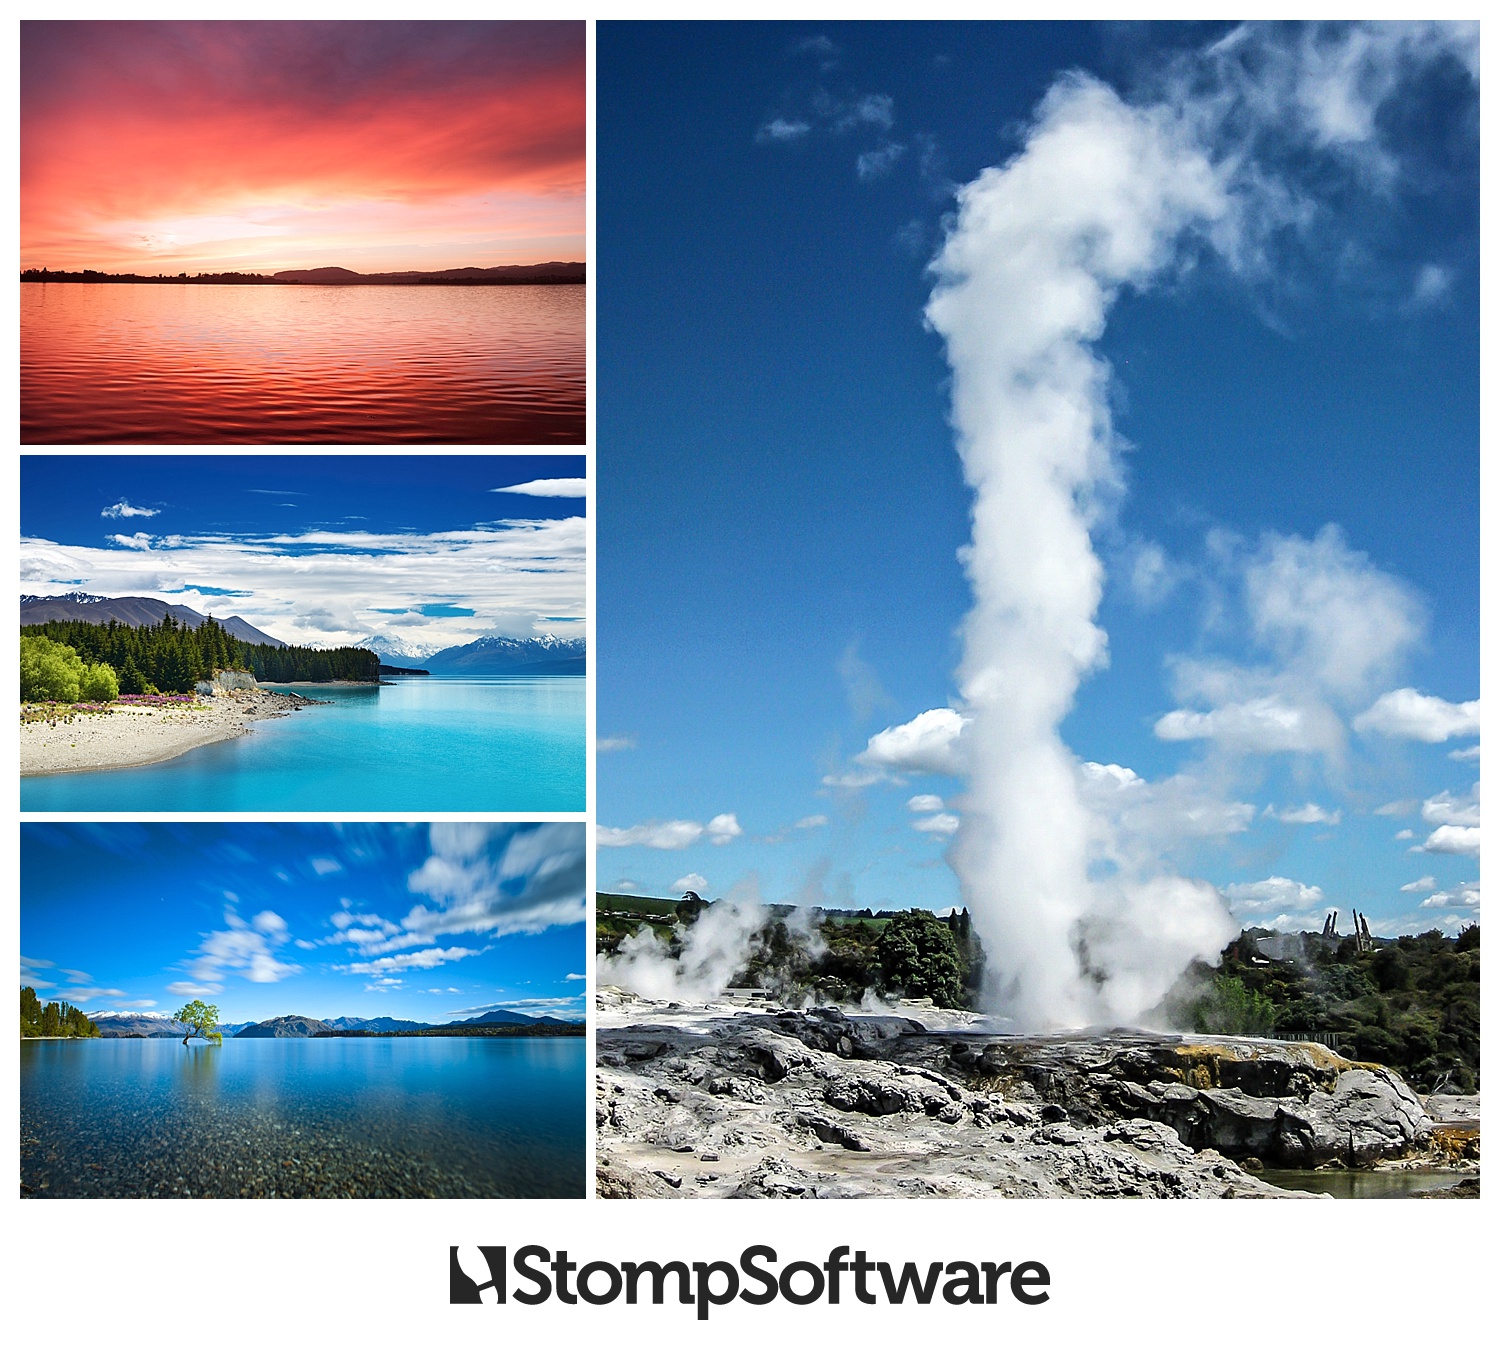
And voila! Your stomped image is AMAZING!!!
Happy Stomping!!
Still can't find what you're looking for? We're here to help