
Connecting BlogStomp to your SmugMug gallery
BlogStomp is no longer our flagship blogging software, as we have replaced it with Storytailor.
We are still supporting the BlogStomp software and its users, but BlogStomp is no longer available for purchase. Learn more about Storytailor HERE.
Now you can upload a gallery directly from BlogStomp 🙂 Let’s get this show on the road!
To add your SmugMug gallery to BlogStomp go to Settings > Gallery.
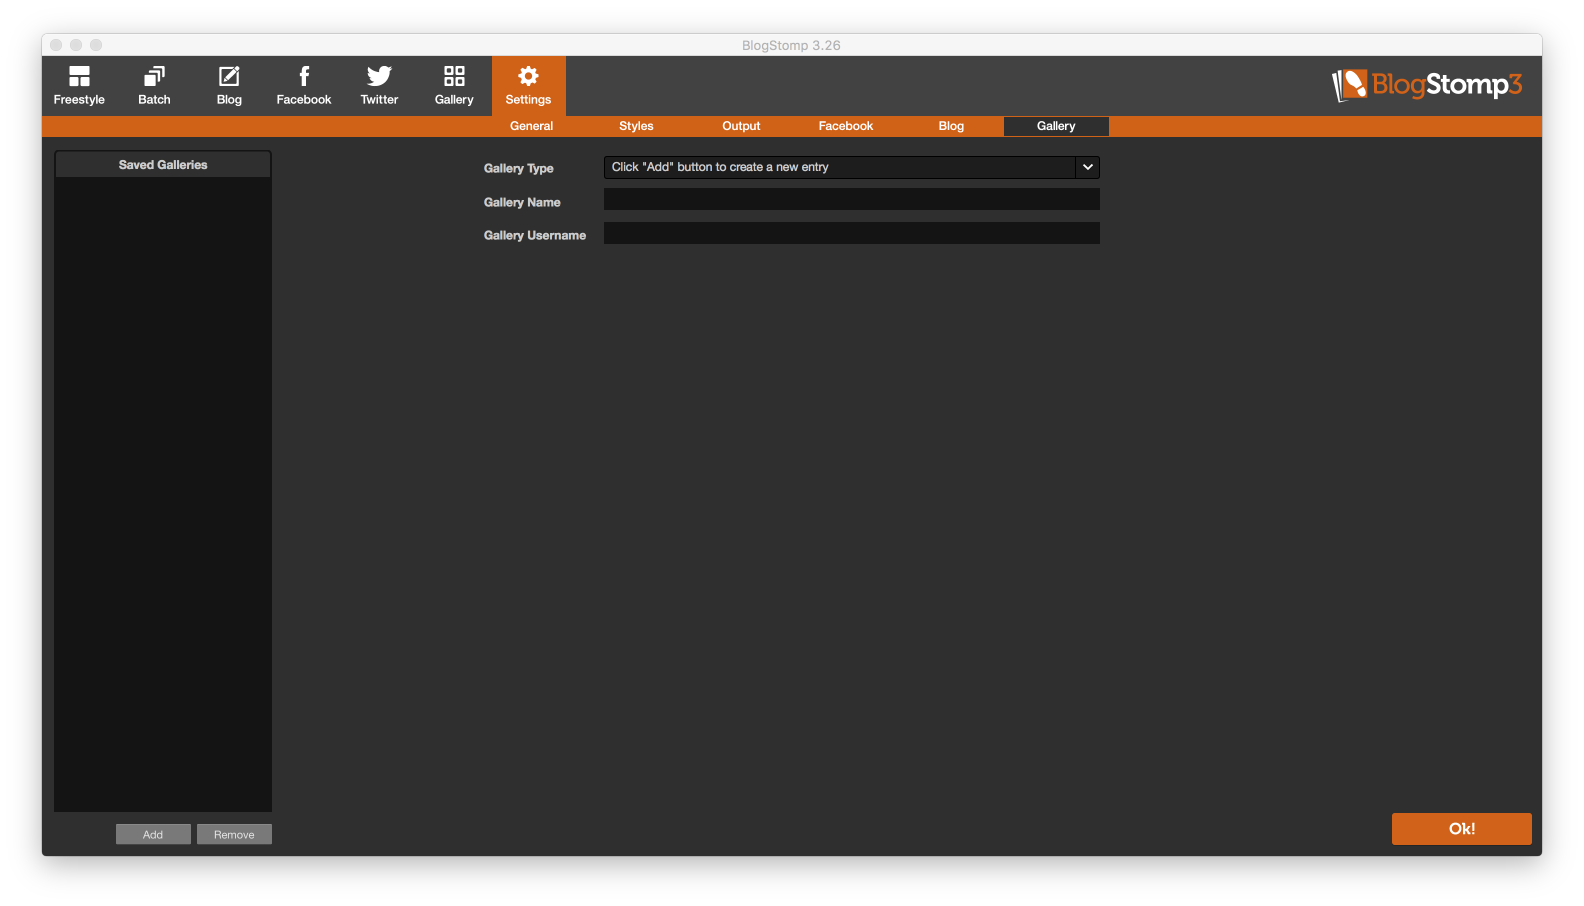
In the bottom left hand corner click “Add”. Select “SmugMug” from the Gallery Type dropdown menu. Enter a Gallery Name if you wish or leave it as SmugMug Gallery. Click “Test Connection”. A window will appear next where you need to follow those instructions to get a pin. Click “Get Pin”.
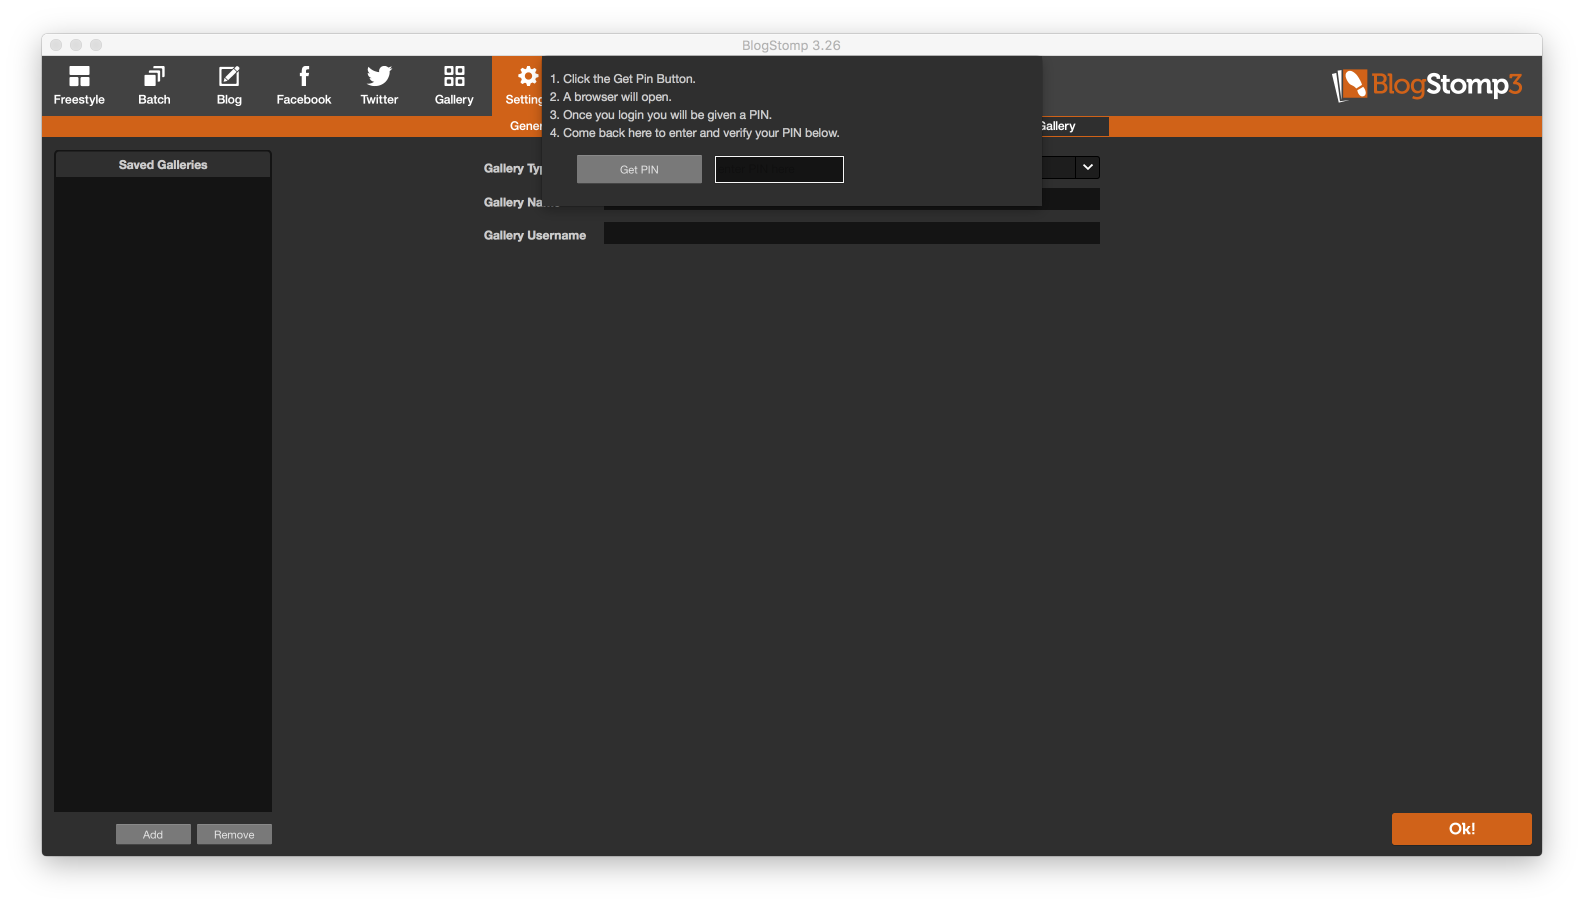
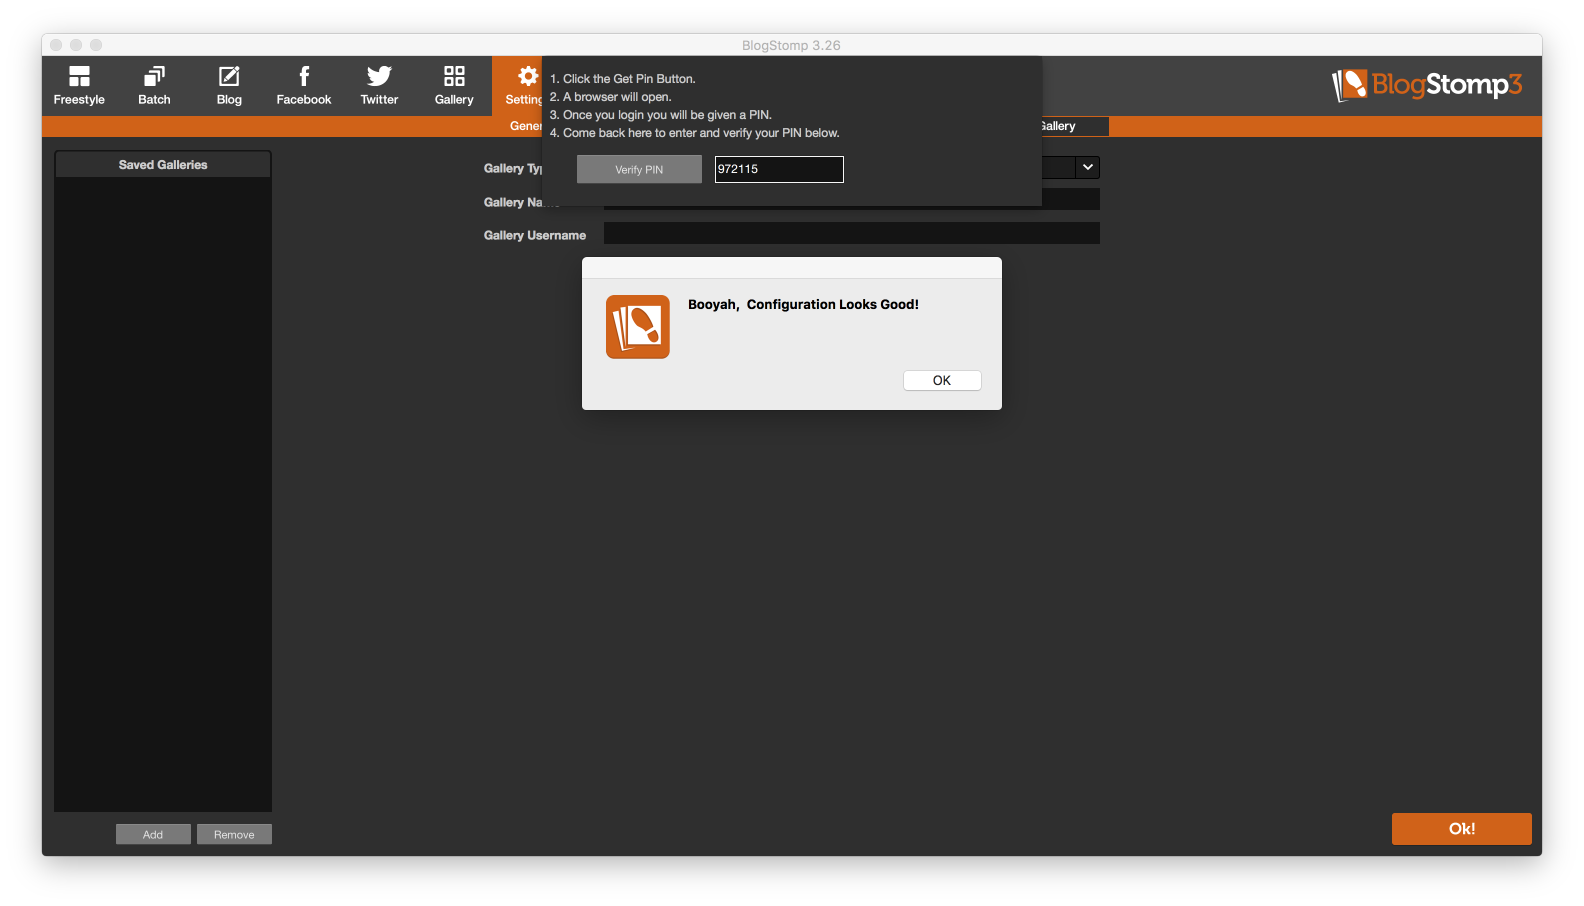
A browser window will open, sign into SmugMug and you will be given a PIN to enter into BlogStomp.
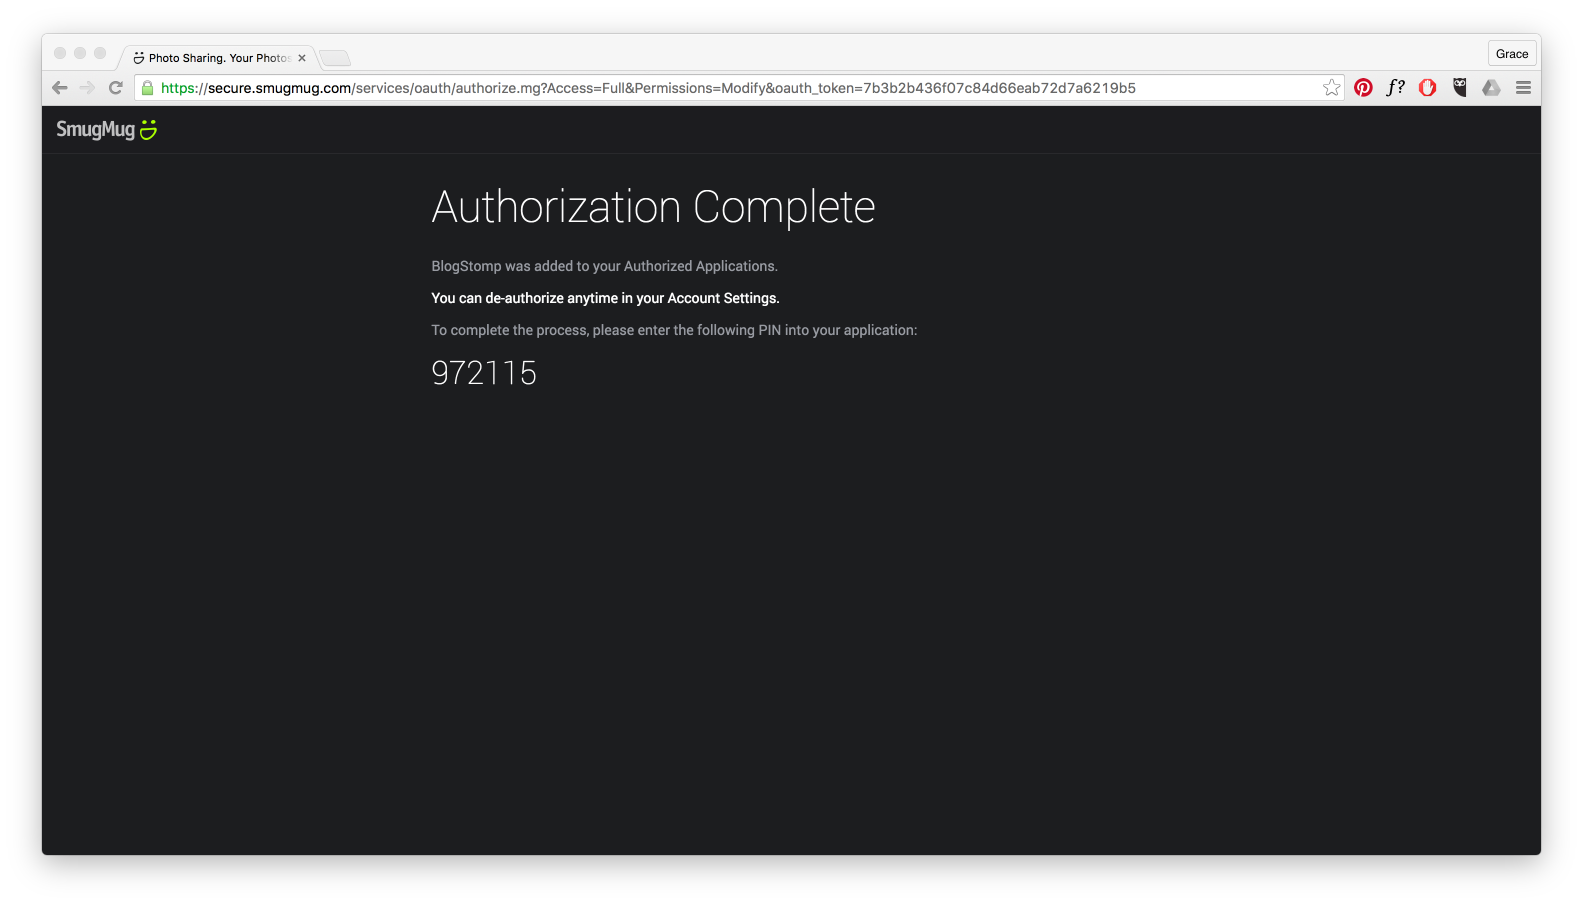
Copy and paste the pin from the web browser into BlogStomp and click “Verify Pin”.
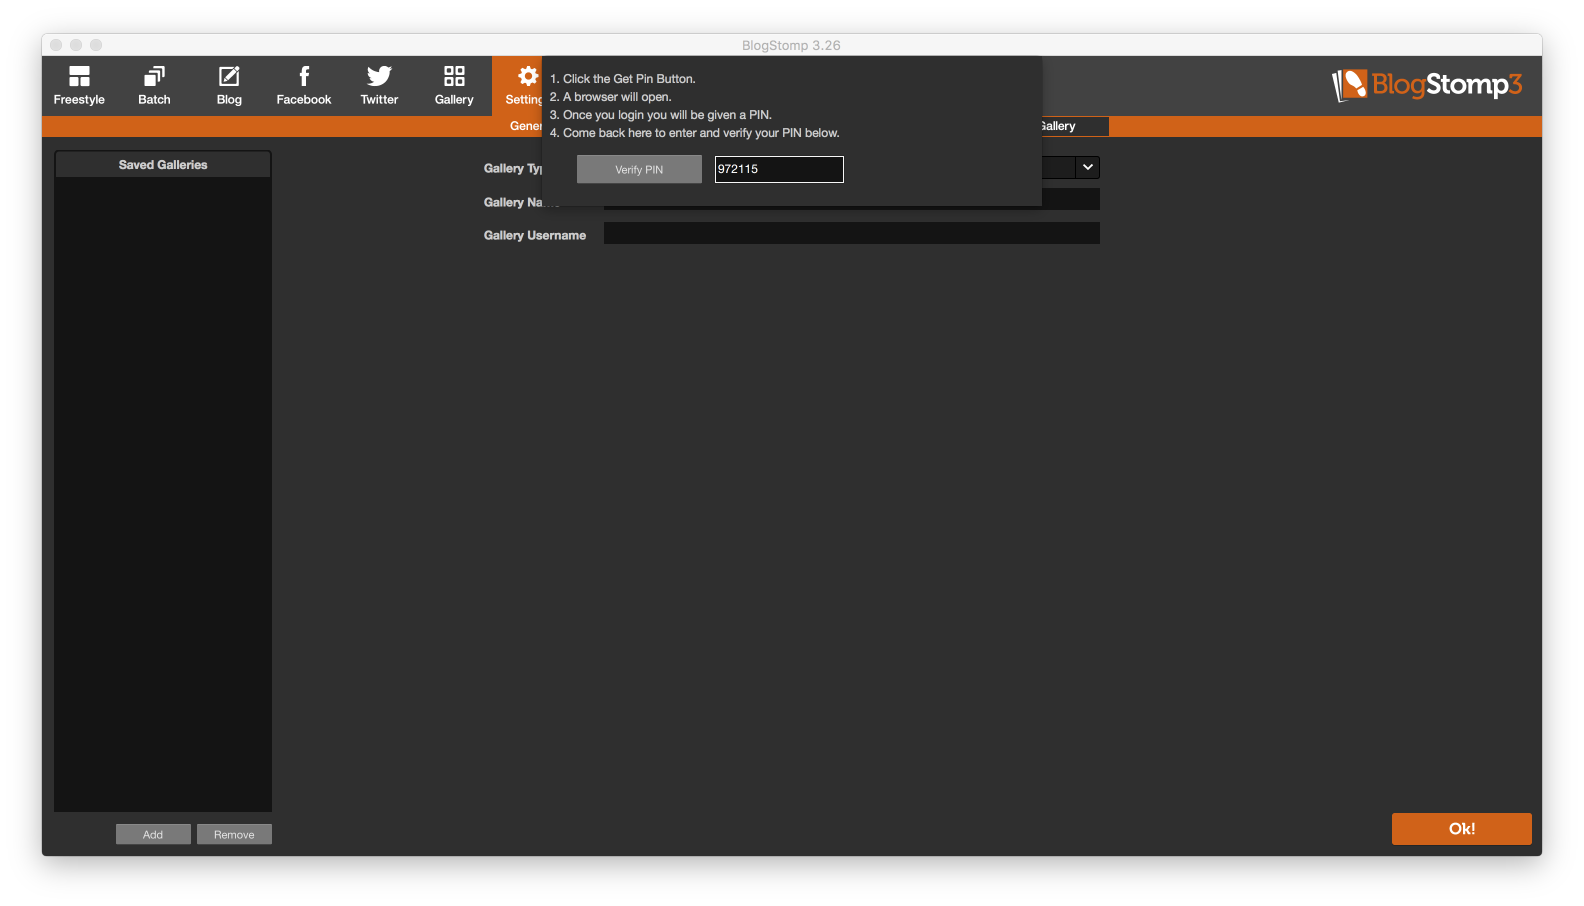
If all is correct you should get a “Booyah” message 🙂
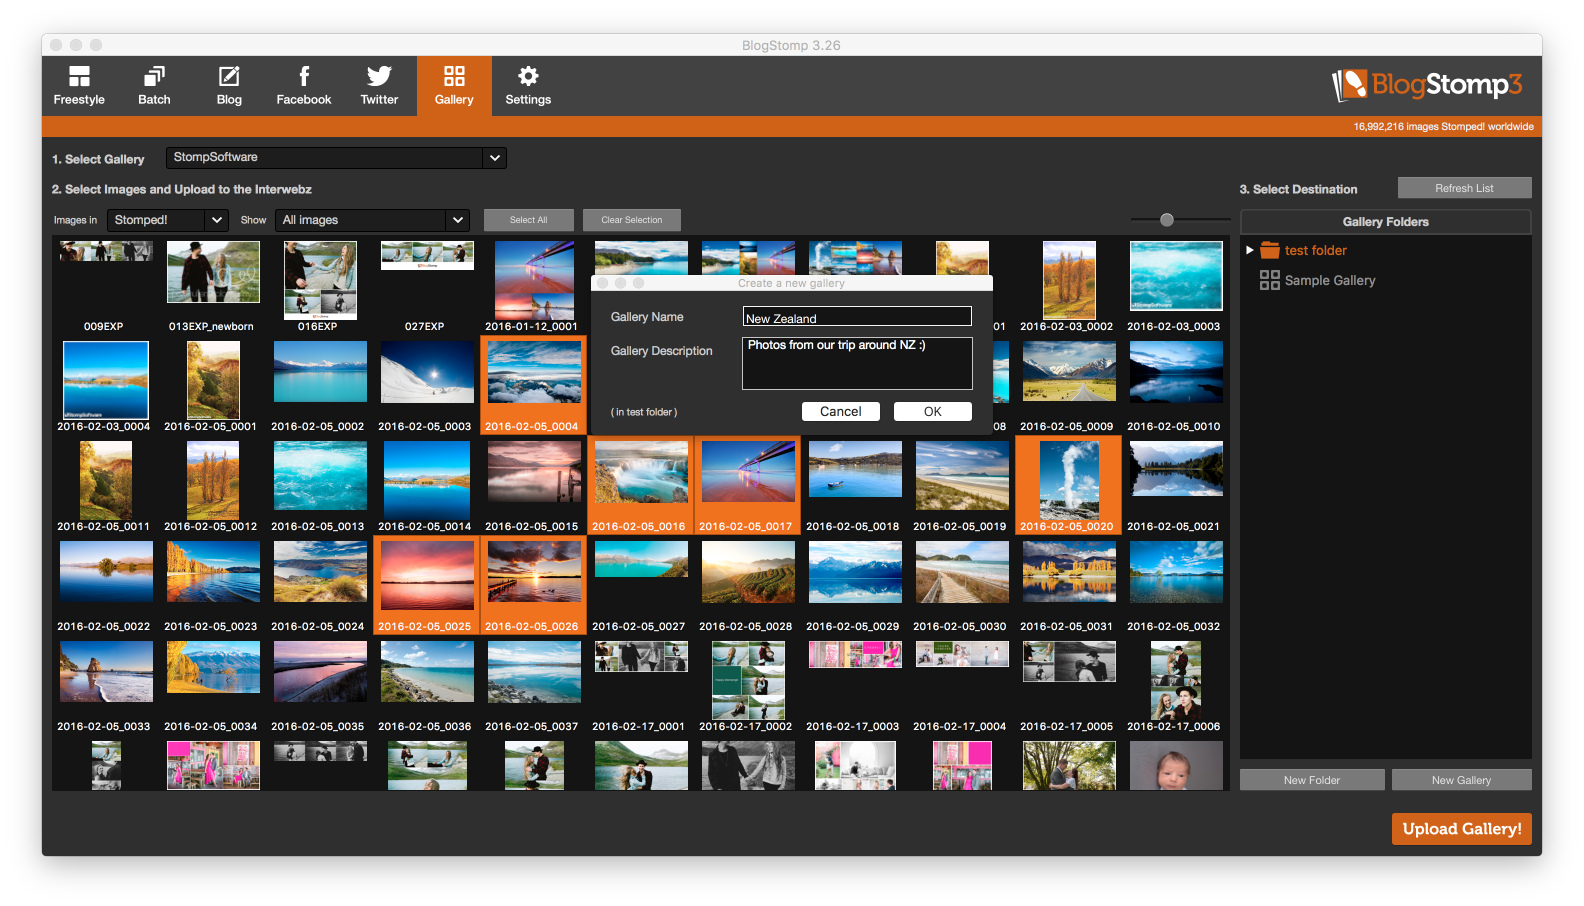
Back in your galleries tab under “Select Gallery” your SmugMug gallery will now appear. From here you can choose the photos you wish to upload and if you wish you can add a new gallery or folder. For a new gallery select a folder then click “New Gallery”. Enter a Gallery Name and Description.
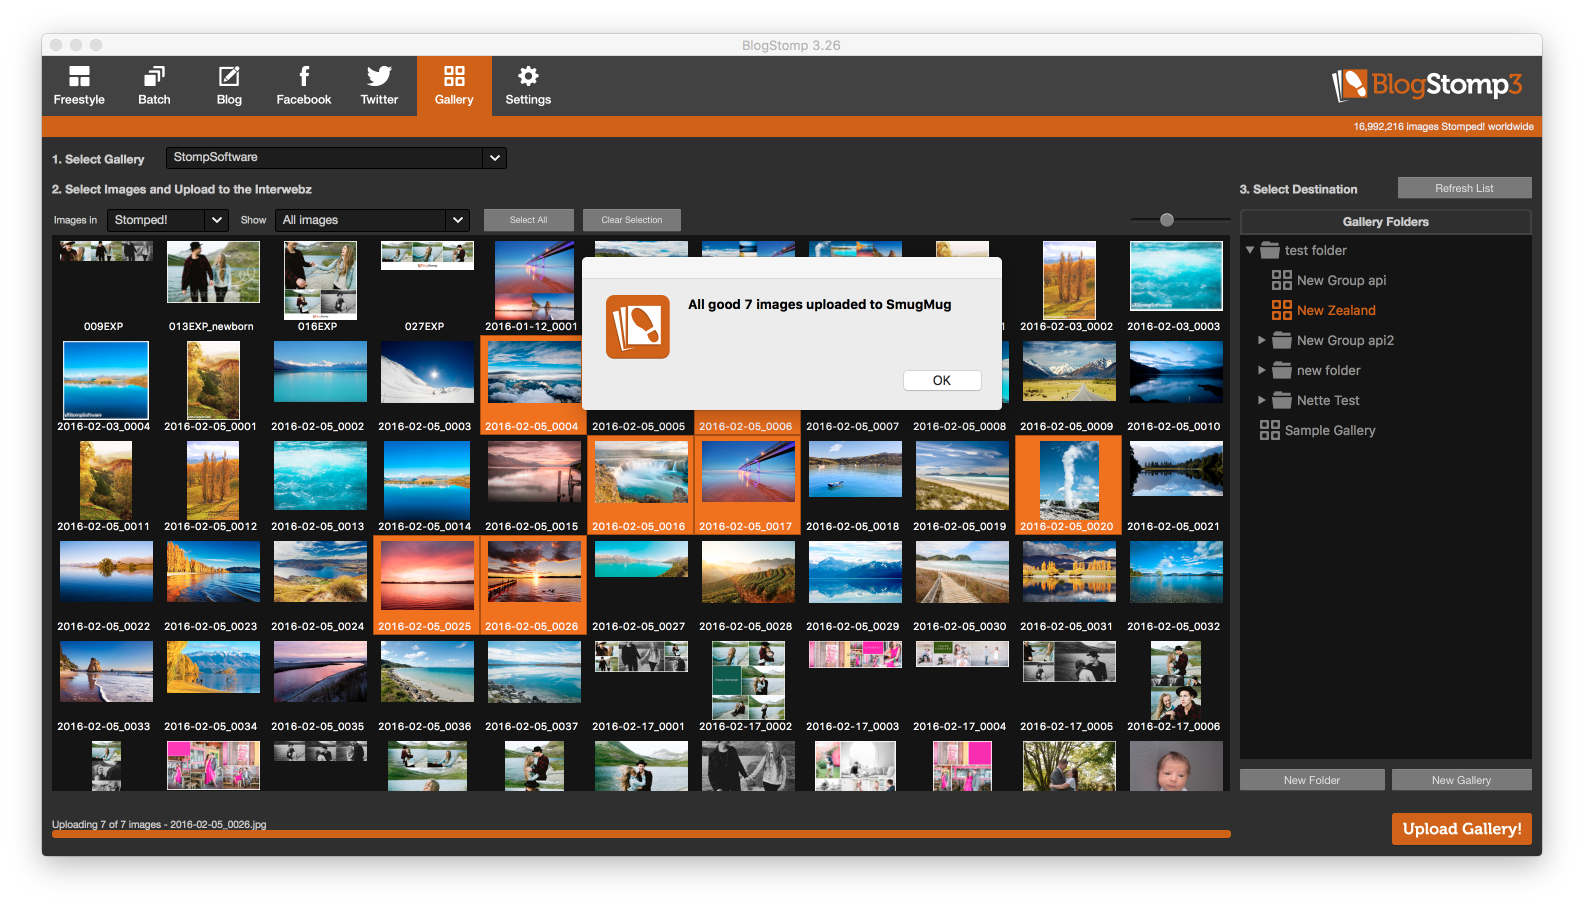
If your new gallery doesn’t appear at first click “Refresh List”. Next you get to upload to your gallery!
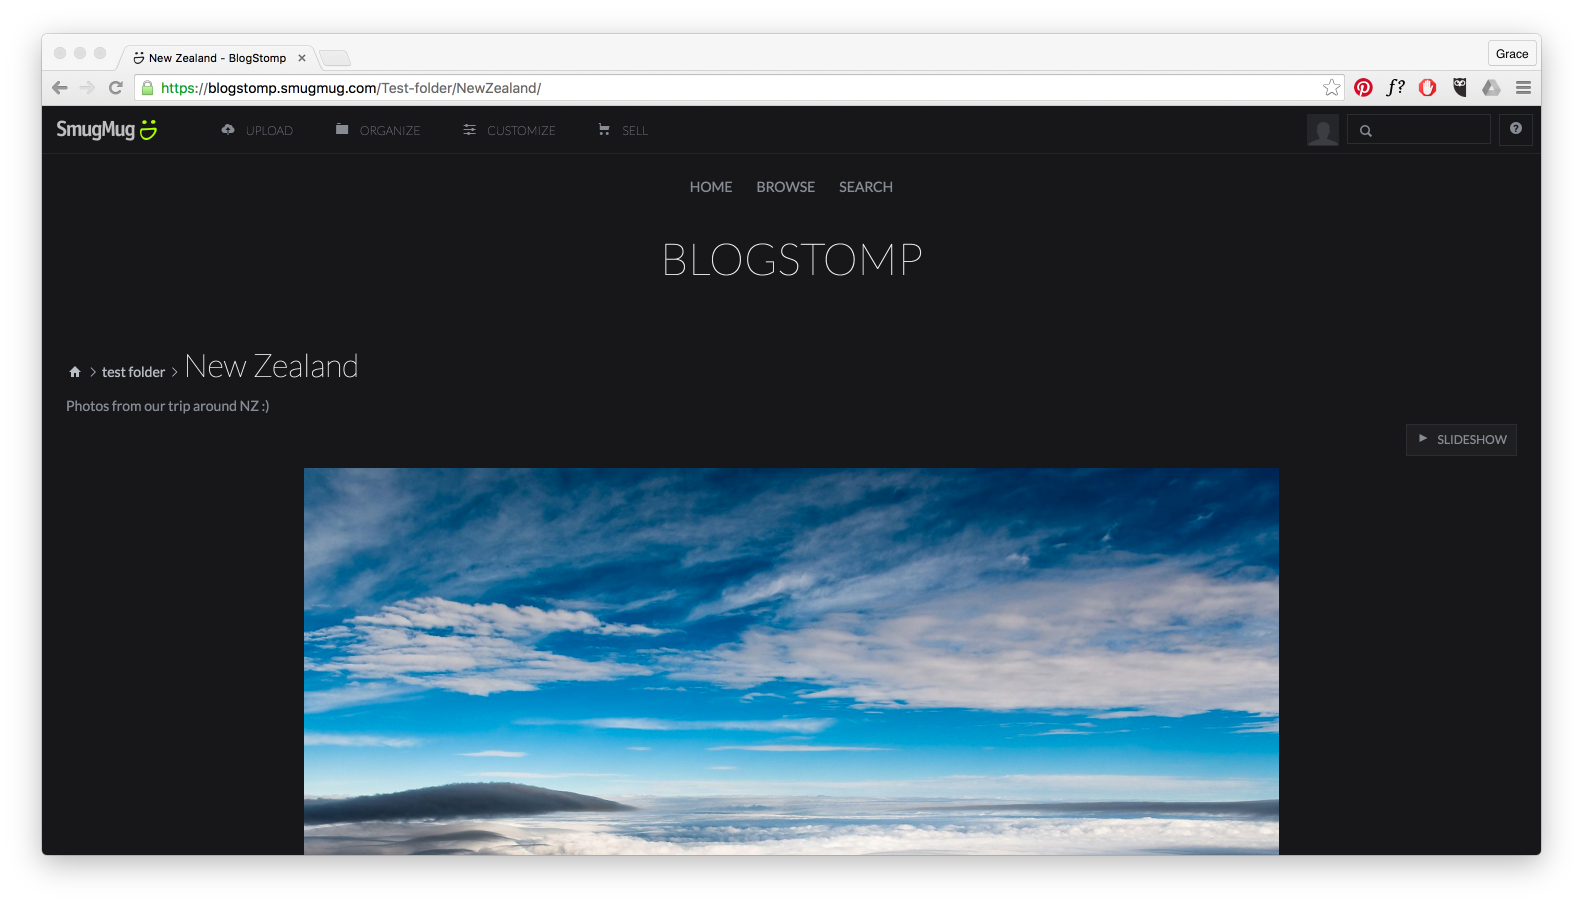
Happy Stomping!!
Still can't find what you're looking for? We're here to help